How to navigate within Google sheet
This guide is designed to help you learn how to navigate, edit, and customize Google Sheets, used in your Unchained Leader assignments.
Whether you're brand new to spreadsheets or just need a refresher, this guide will walk you through the basics of working inside your document, from typing and resizing cells to adding rows, coloring boxes, and more. Use this guide anytime you feel stuck or need help.
Before You Begin:
Ensure your device has a good stable internet connection
Open your Unchained Leader Google Sheets timeline document.
If you're using a template, and need to learn how to make a copy, check out our other guides on how to make a copy of a lesson assignment, Click Here.
Log into your Google account to ensure access and editing capabilities. If you're not sure how to login to your google account, Click Here.
Use a desktop or laptop for the smoothest experience (mobile devices are fine to use, but may have limited features).
Instructional Video:
Step-by-Step Instructions
Step 1: Understand the layout of your spreadsheet
Columns are labeled A, B, C, etc., across the top and run vertically
Rows are labeled 1, 2, 3, etc., along the left side and run horizontally
Cells are the individual boxes where you type data (where a row and column intersect)


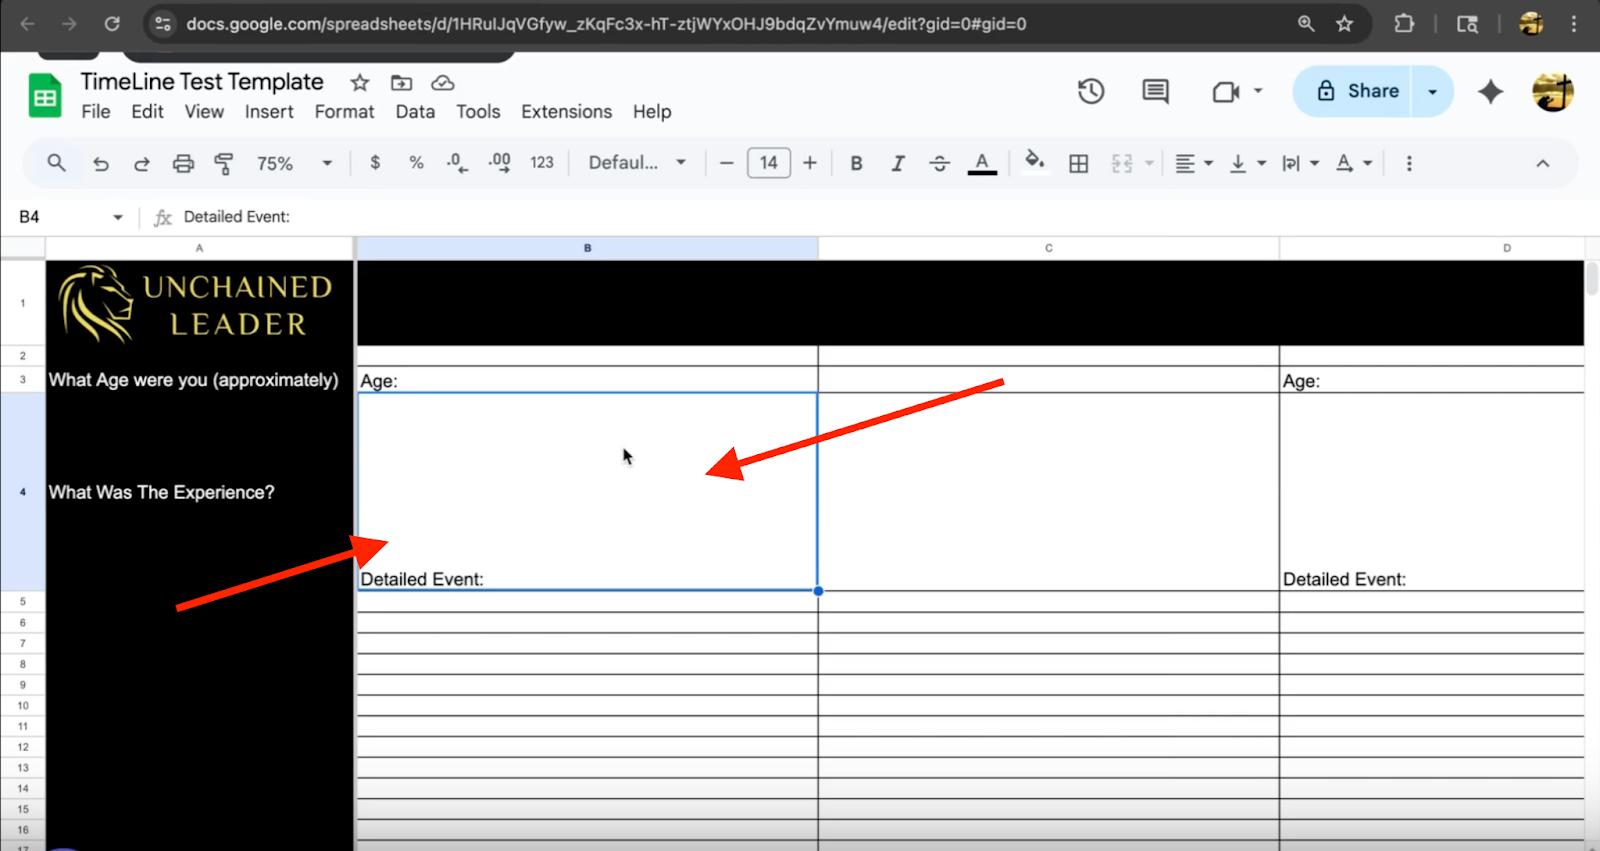
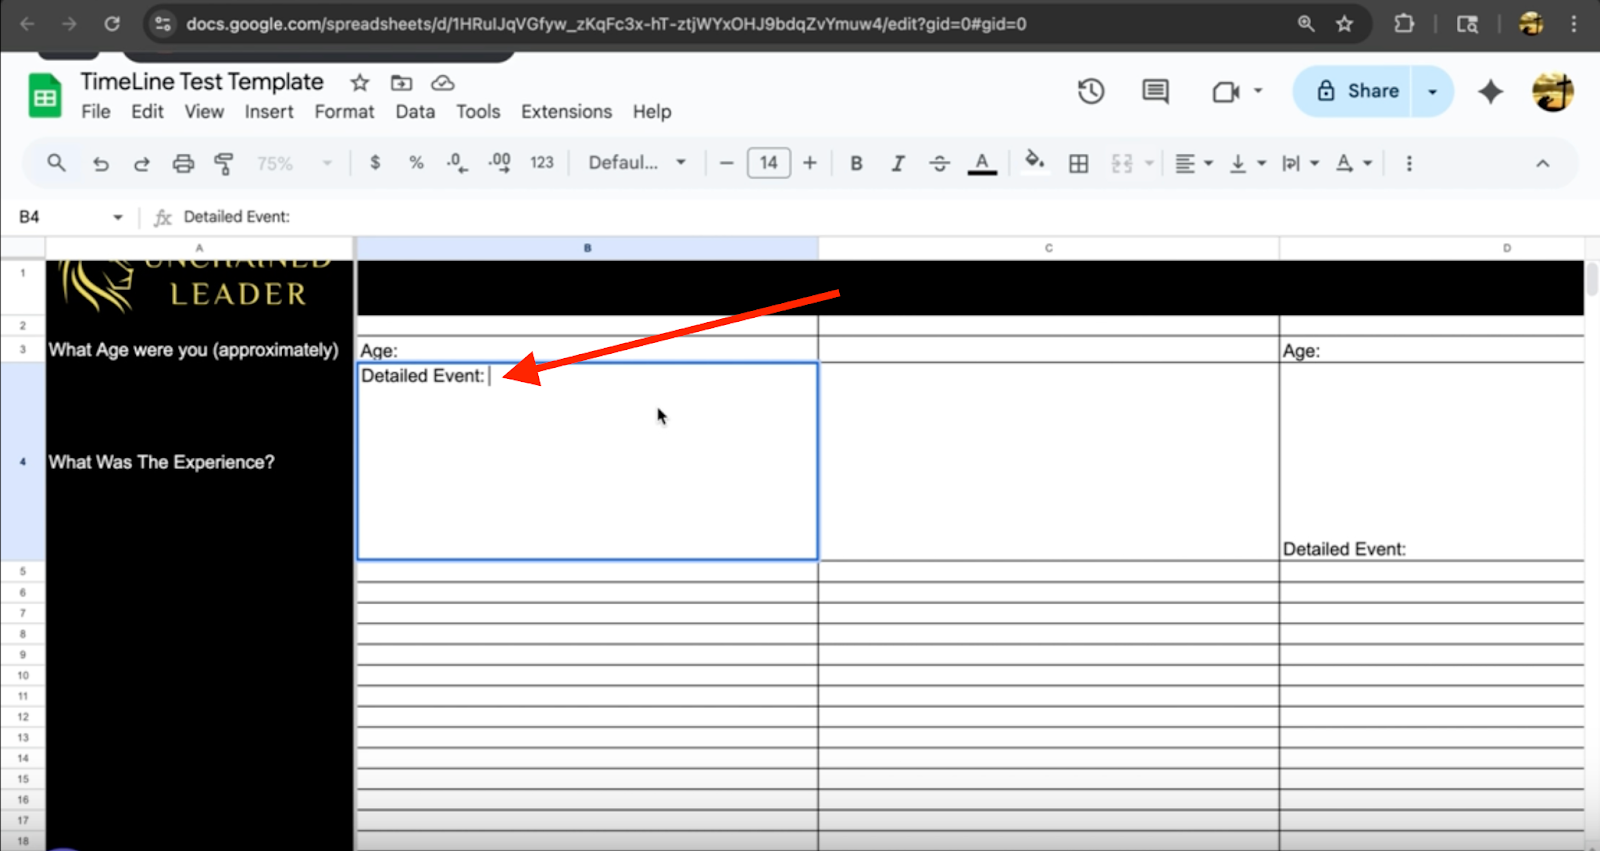
Step 2: Type in a cell
Double-click inside any cell
Begin typing your text
Press Enter or Return on your keyboard when finished
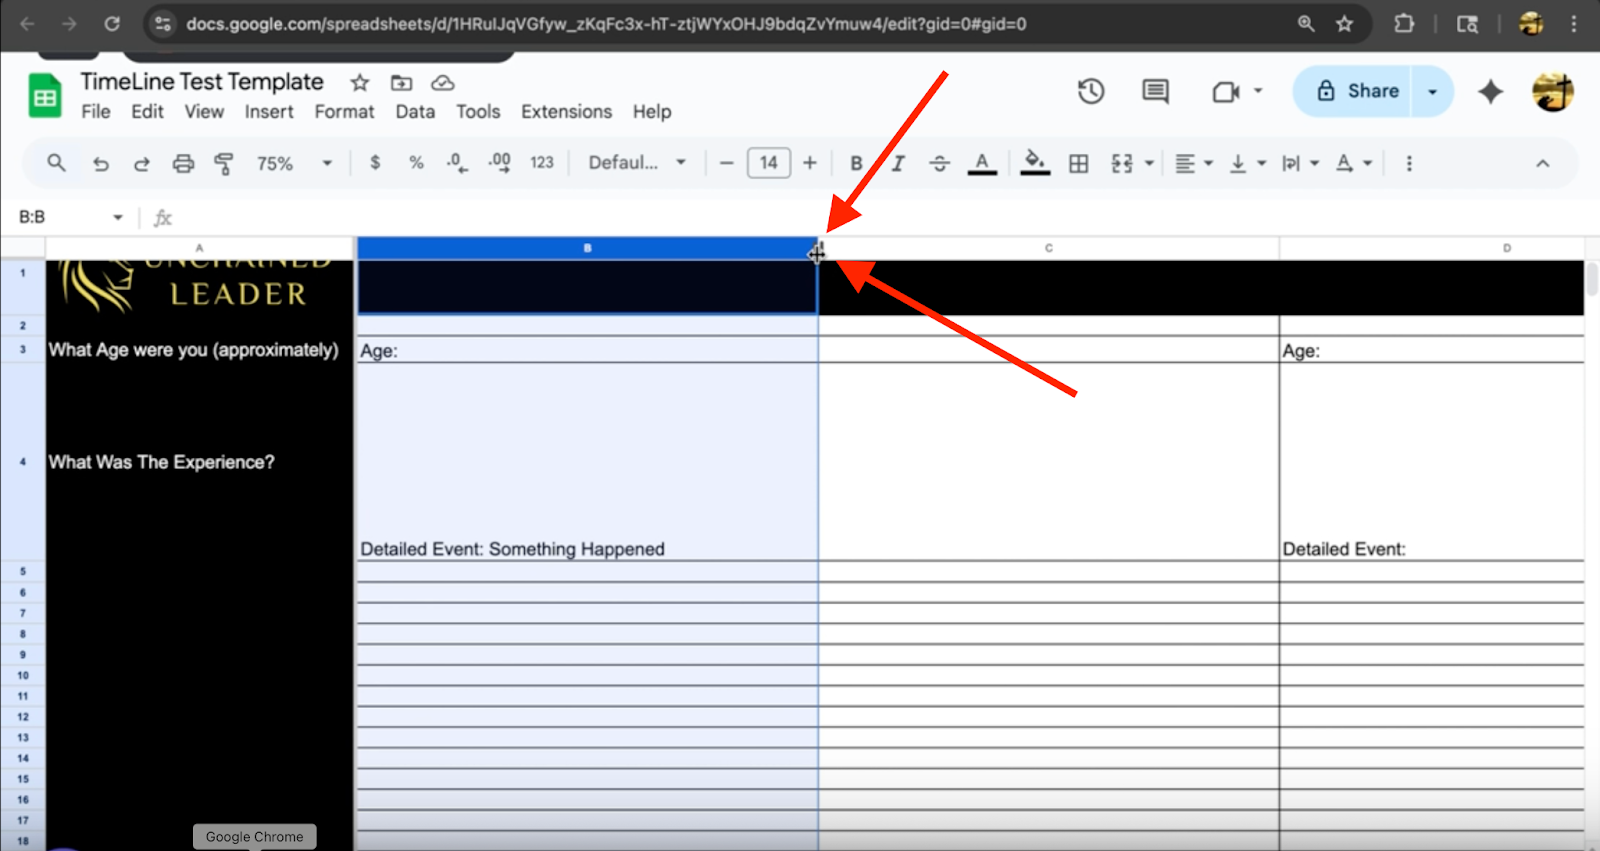
Step 3: Widen a column
Click the letter at the top of the column you want to adjust
Hover your mouse over the edge of the column letter
Click and hold when you see the two-sided arrow
Drag right to make it wider or left to make it narrower


Step 4: Adjust row height
Click the number on the left side of the row
Hover over the row’s bottom edge
Click and hold, then drag downward to make it taller


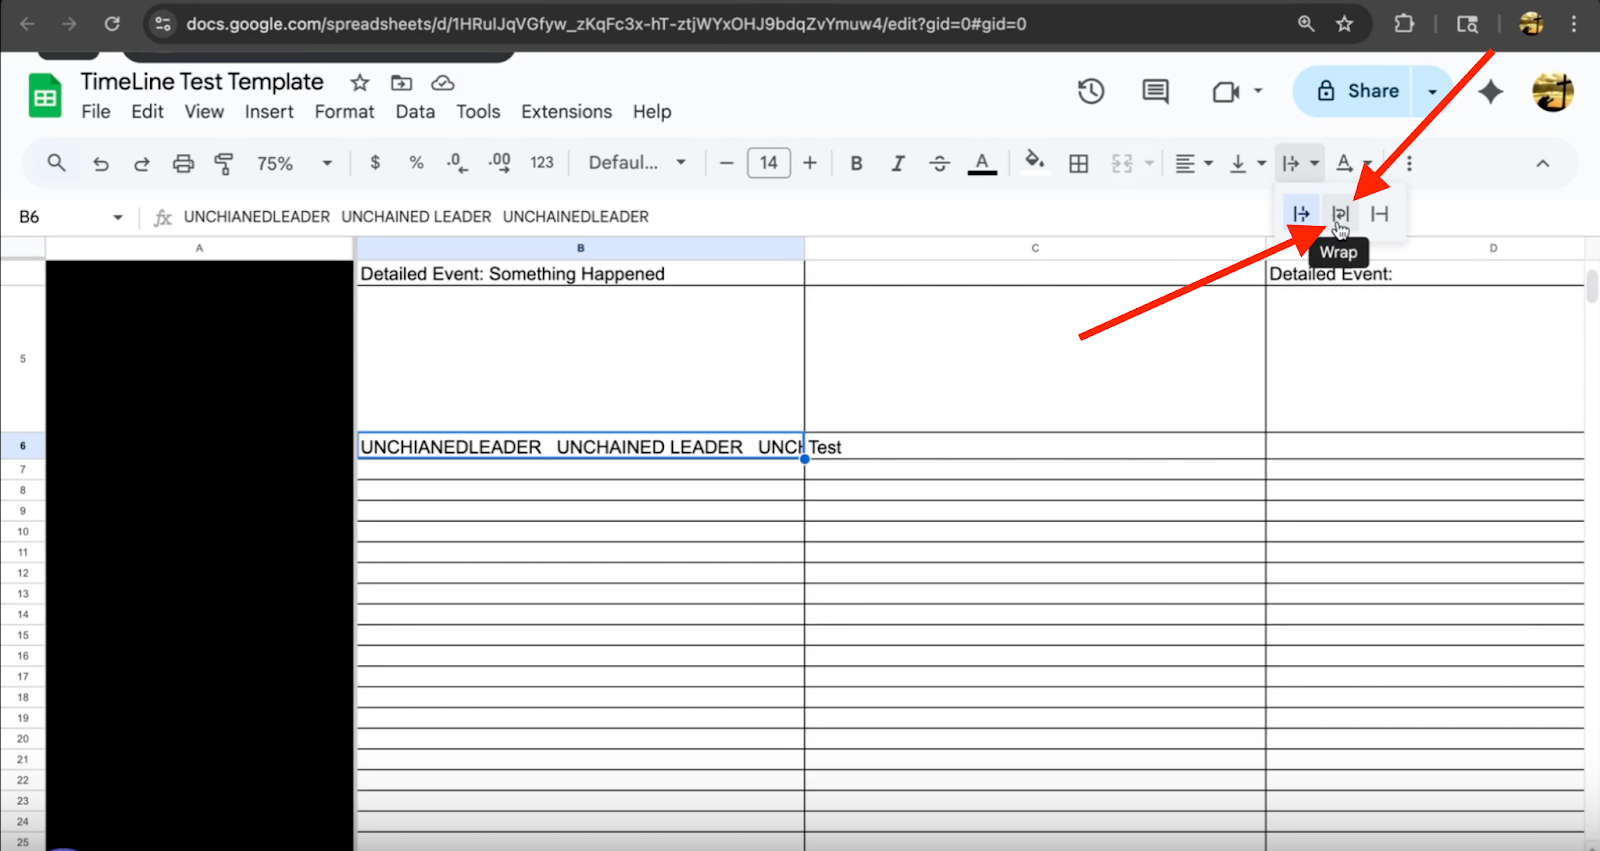
Step 5: Wrap your text inside a cell
Click on the cell with cut-off text
Go to the top menu and click on the Text Wrapping icon (three curved lines)
Select “Wrap”
Step 6: Add a new column
Click the letter of the column next to where you want the new one
Right-click and choose Insert column left or Insert column right

Step 7: Add a new row
Click the number of the row near where you want to add one
Right-click and choose Insert row above or Insert row below

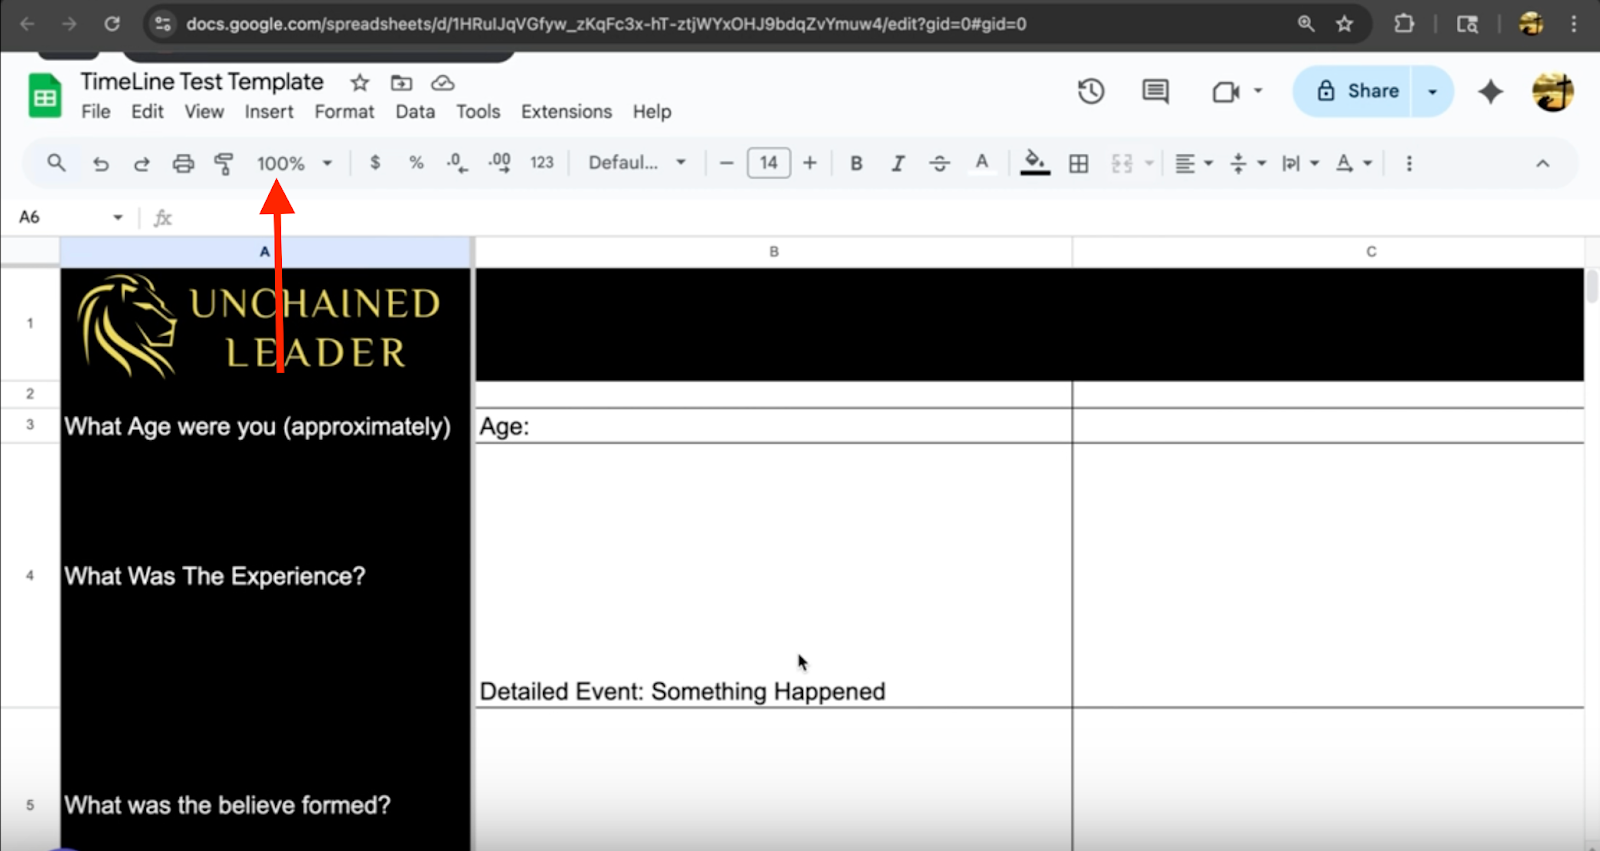
Step 8: Zoom in or out of your sheet
Go to the top toolbar where you see a percentage (like 100%)
Click to zoom in or out for better visibility


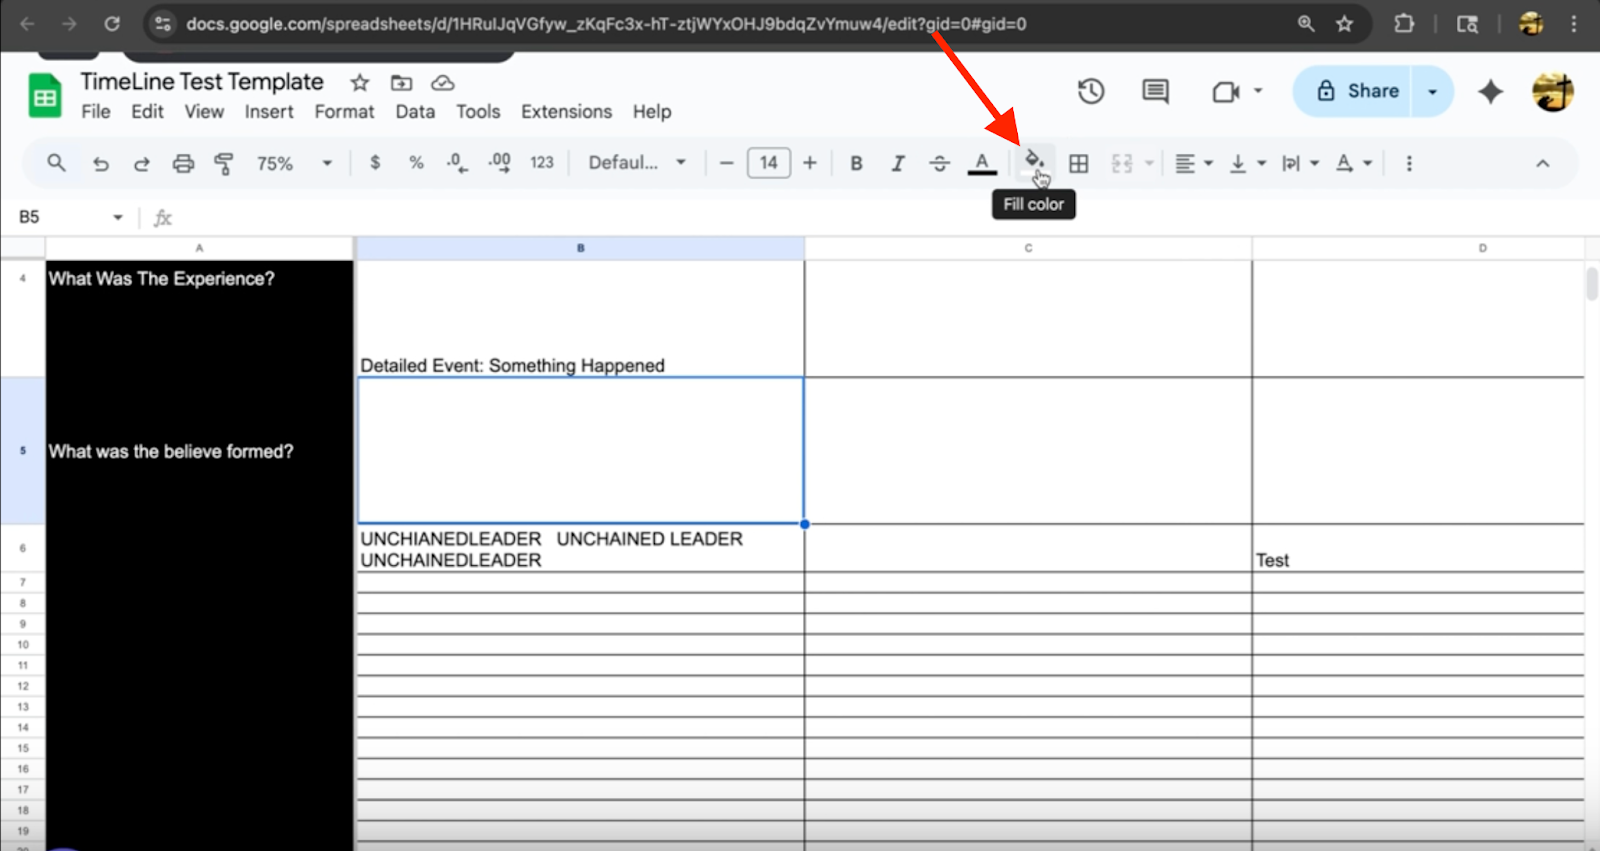
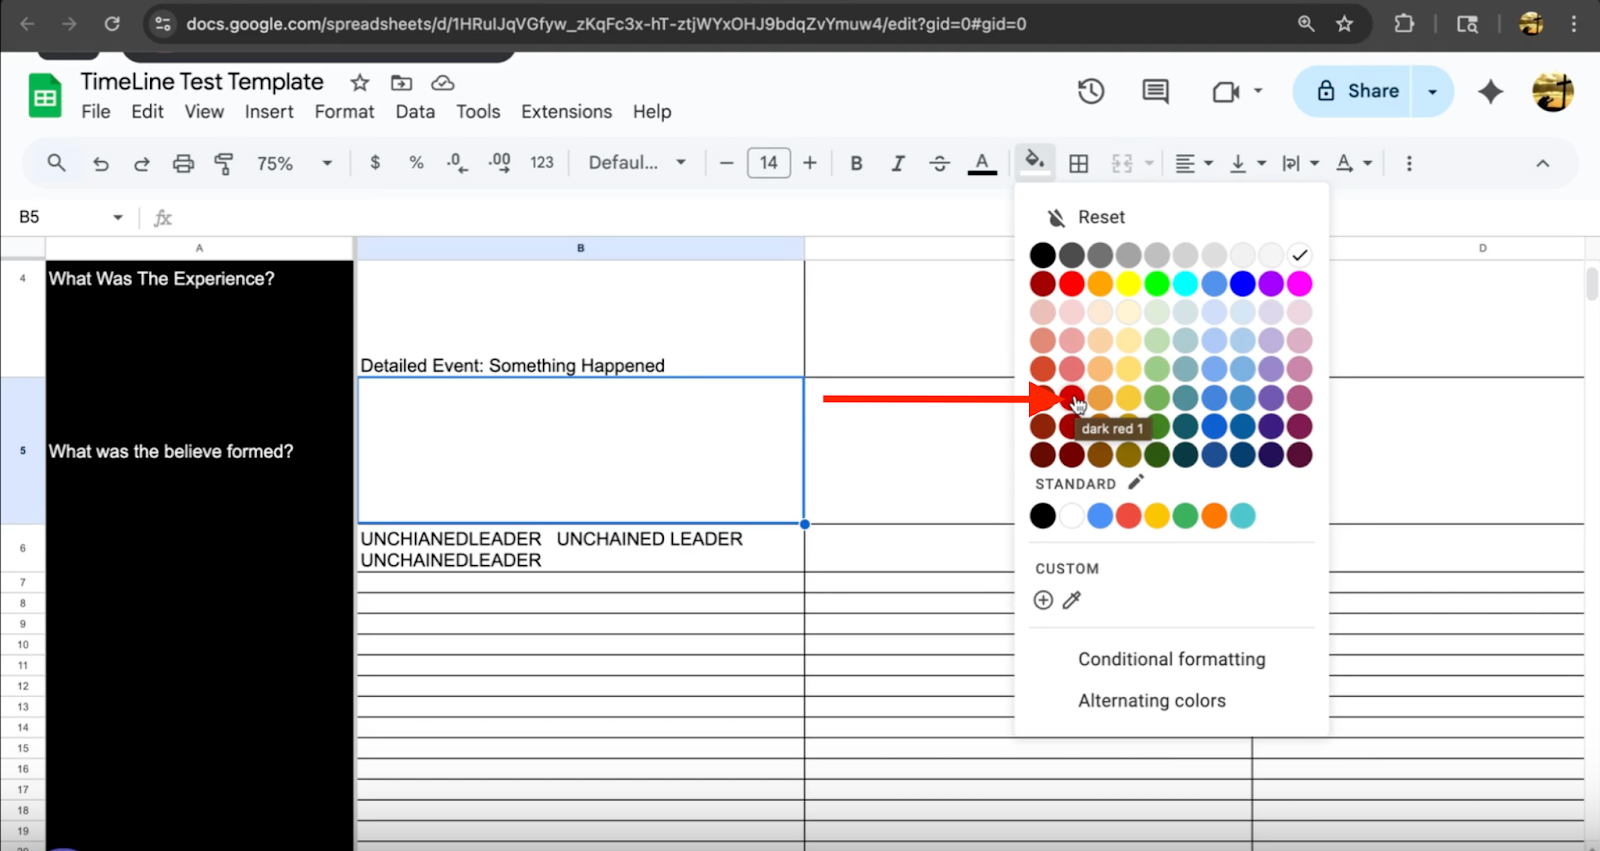
Step 9: Change the color of a cell
Click on the cell you want to color
Go to the Fill color icon (paint bucket) in the top toolbar
Choose your preferred color

Step 10: Undo a mistake
Click the Undo arrow (curved arrow icon in the top-left menu)
Click multiple times if needed to go back several steps

Additional Tips:
You must first make your own editable copy of the timeline template
(If you haven’t done that, see our guide: Click Here.)Mobile and tablet versions may look slightly different, but the same tools are available
Don’t worry about perfection — just practicing in the document will help you get more comfortable
Still Stuck?
If you’ve followed these steps and are still having trouble, please reach out to our member support team.
You can send an email to the address below, or click on the link to go to our member support page and submit a support ticket.
support@unchainedleader.com
Keywords to help you find this guide:
Google Sheets help, timeline spreadsheet, how to use Google Sheets, beginner spreadsheet guide, edit template, add column in Google Sheets, add row in Google Sheets, wrap text, zoom spreadsheet, cell formatting, spreadsheet basics, Unchained Leader assignments, lesson documents, spreadsheet tutorial
Was this article helpful?
That’s Great!
Thank you for your feedback
Sorry! We couldn't be helpful
Thank you for your feedback
Feedback sent
We appreciate your effort and will try to fix the article